Vickers Wellington T.18 Blackpool Built
Jan 14, 2018 23:22:41 GMT 1
viscount, woody66, and 2 more like this
Post by acklington on Jan 14, 2018 23:22:41 GMT 1
This thread will be quite a lengthy 'work in progress' build. I won't normally do this, but on this occasion I'm hoping to attract some fresh information on this very enigmatic aircraft, before I go too far down the wrong path with this model!
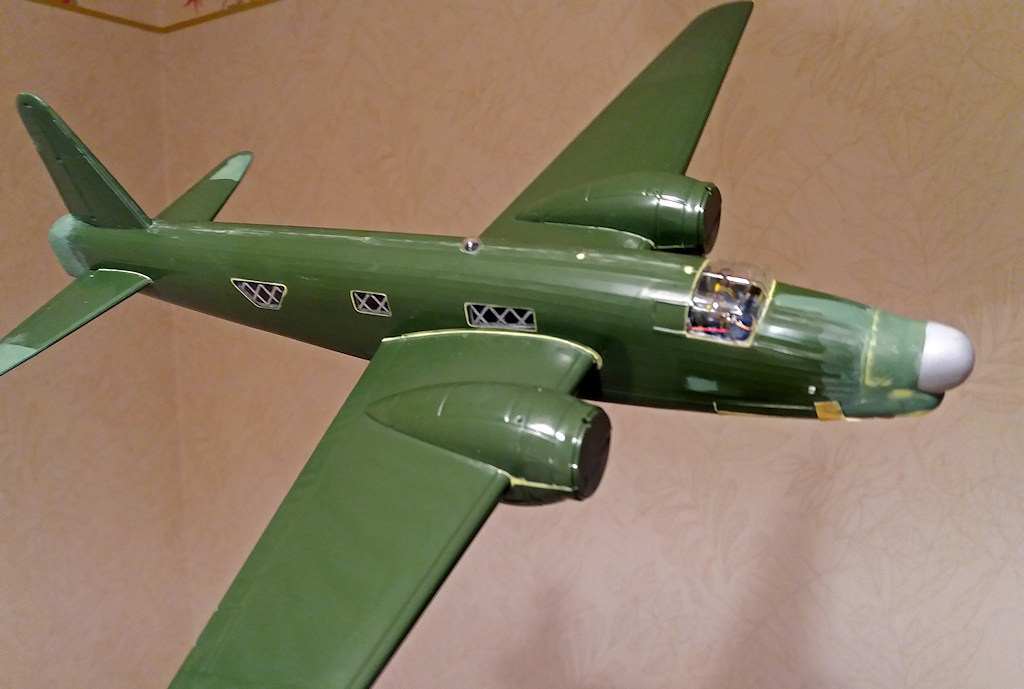
Matchbox 1/72 Wellington (PK-402) to Vickers Wellington T.XVIII (T.18)
An extensive trawl of the internet seems to show that no one has yet attempted a Vickers Wellington T.18 (I'll use arabic numerals for ease of comprehension), which was the 1945 conversion of the Wellington GR.XIII (GR.13) to produce a radar trainer for Mosquito night fighter crews. Only some 80 conversions were made on the Blackpool production line, and they continued in limited post-war service until replaced by Bristol Brigand trainers in the early 1950s. Despite much searching through my extensive library, and on the internet, I can only find photos of just five examples, mostly single side-views which do not reveal the full shape of the radar nose, nor other details. Only one photo shows any sort of unit markings, and accurate plans are non-existent. There was also a similar Wellington T.XVII (T.17), converted from the Wellington GR.XI (GR.11), but I can find no photo of that variant at all.
 Wellington T.18, Matchbox kit (1) w by Philip Pain, on Flickr
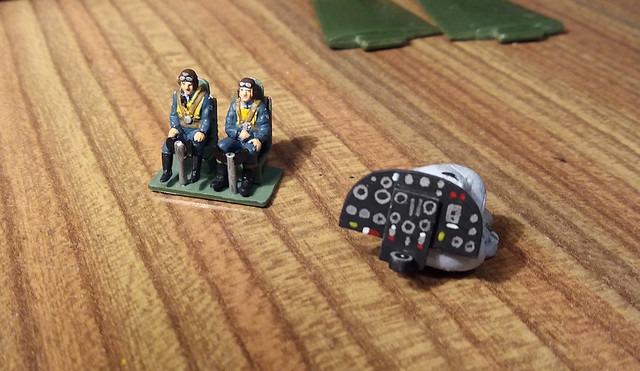
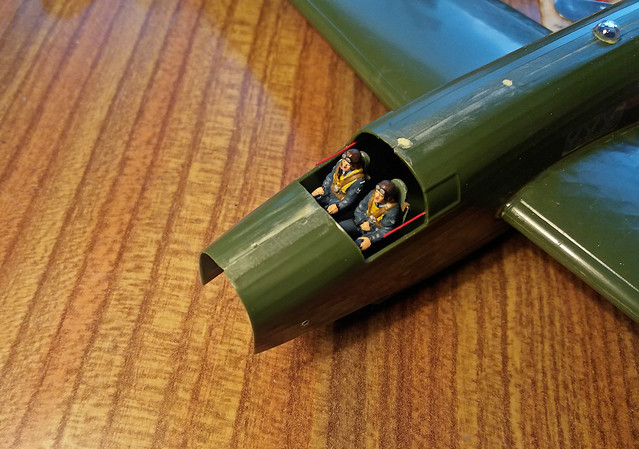
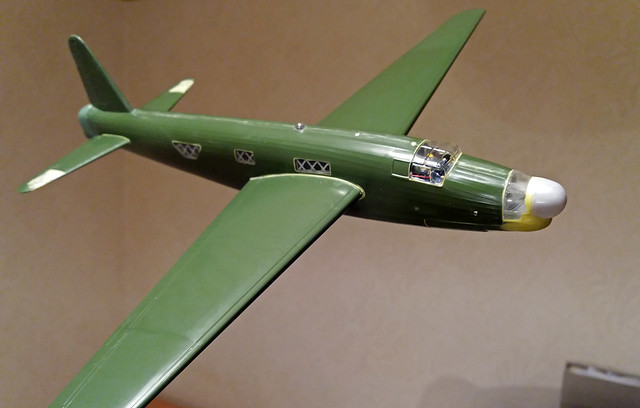
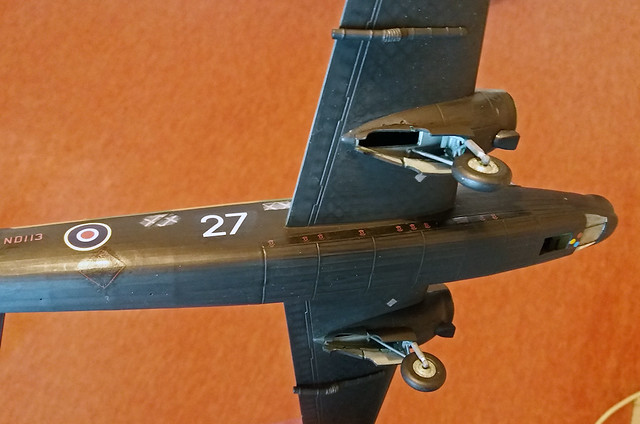
Started off with the Matchbox fuselage, adding and painting the internal silver framework on the windows. The internal nose detail was left off (it can be inserted later), because the fuselage walls are quite thin, so the wings will be glued on early, and reinforced internally with spars to strengthen the model.
 Wellington T.18, Matchbox kit (2) w by Philip Pain, on Flickr
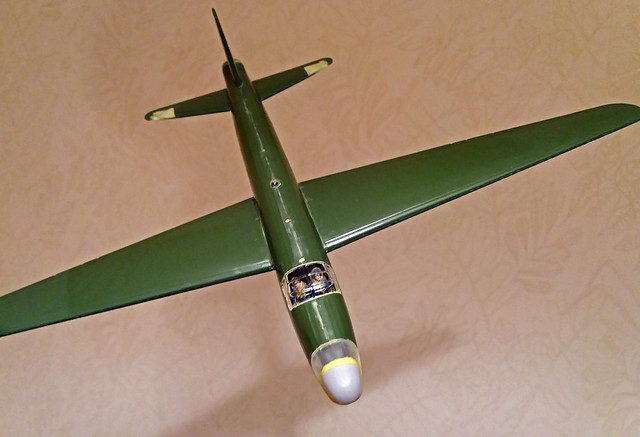
 Wellington T.18, Matchbox kit (3) w by Philip Pain, on Flickr
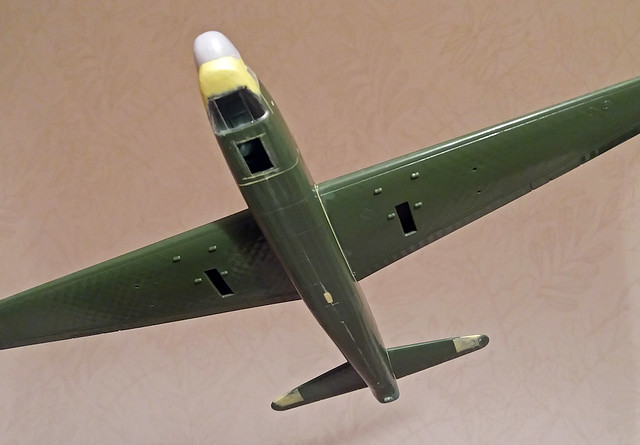
There are two 1/72 Mosquito radar noses available, as optional parts in the Airfix, and Matchbox Mosquito kits. In this photo the upper one is Airfix, and the lower one Matchbox. The Airfix example looks a very odd shape in profile, and tapers too much in plan view. Neither example seems to completely match the Wellington nose-job, which seems not to taper in plan view. However the Matchbox is the closer match, and can always be beefed-up with filler later on.
 Wellington T.18, Matchbox kit (4) w by Philip Pain, on Flickr
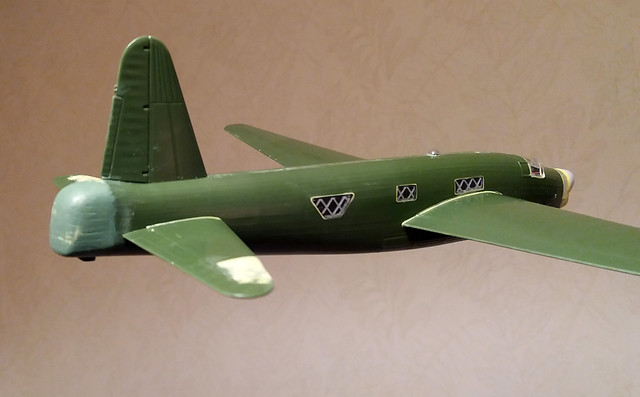
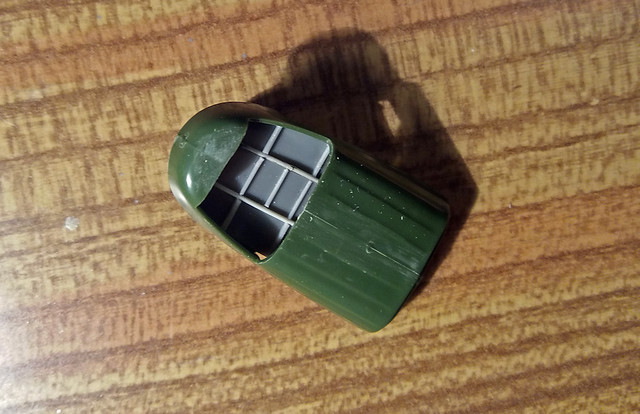
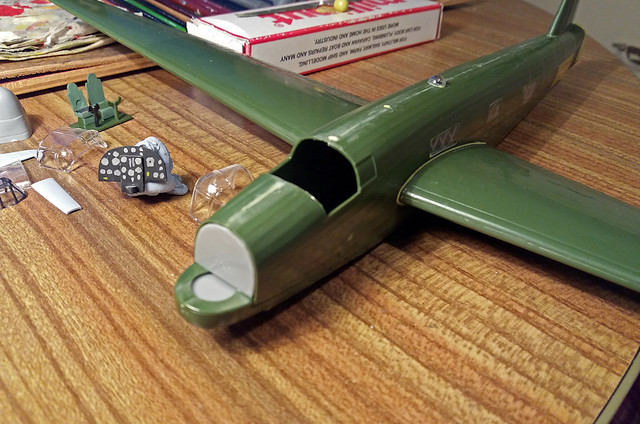
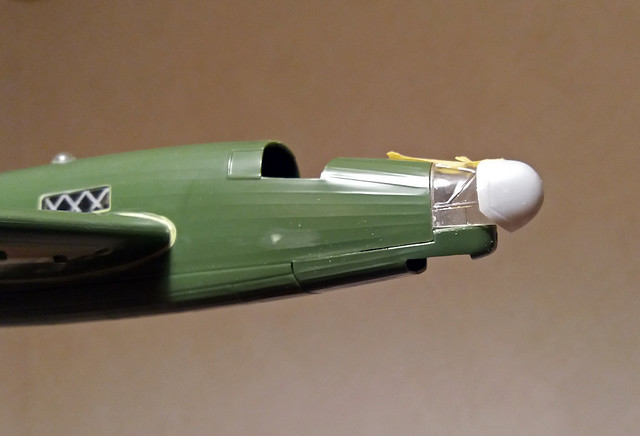
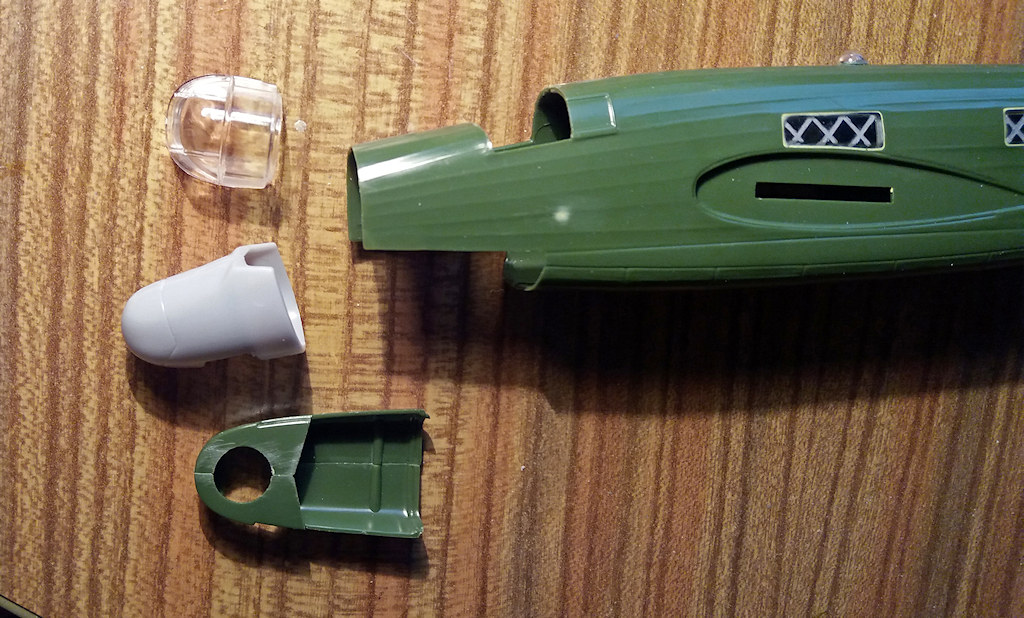
So how do you turn a Mk.10/Mk.14 kit into a T.18? The photo shows the bits available - the Matchbox radar nose; the GR.14 upper nose glazing; and the B.10 lower nose section. After much research into the numerous vagaries of Wellington marks, it became apparent that the way to tackle this conversion is to first aim to produce a GR.13 (the real time basis of the T.18 conversion). The GR.13 retains the bomb aimer's window underneath, but with a lengthened nose to match the size of the GR.14-style upper glazing, as shown in the following photo;
 Wellington T.18, Matchbox kit (5) w by Philip Pain, on Flickr
The upper glazing will have to be reduced in size vertically, and the lower nose extended forwards with modelling putty. The upper glazing has the correct profile for the top and longer contour of the T.18 nose. But the big uncertainty is to where to make the join between the upper glazing, and the lower nose. As best as can be deduced from photos, it appears that the lower nose probably extended up as far as the gun turret mounting ring. This would make sense as the gun turret mounting structure could be used to mount the radar. So in this photo it will be the bottom of the glazing that is removed, and the B.10 turret level retained.
 Wellington T.18, Matchbox kit (6) w by Philip Pain, on Flickr
Clearly a lot of the Matchbox Mosquito nose structure has to be removed, leaving just the nose cone as shown by the engraved line. A corresponding hole will have to be cut in the upper glazing. It is impossible to tell if the two will fit together, and the plan is to start 'big' and whittle back until (hopefully) the two match. But if the Mosquito nose cone can not be made to fit, then 'Plan B' is to use a block of balsa wood, and whittle it to shape.
 Wellington T.18, Matchbox kit (7) w by Philip Pain, on Flickr
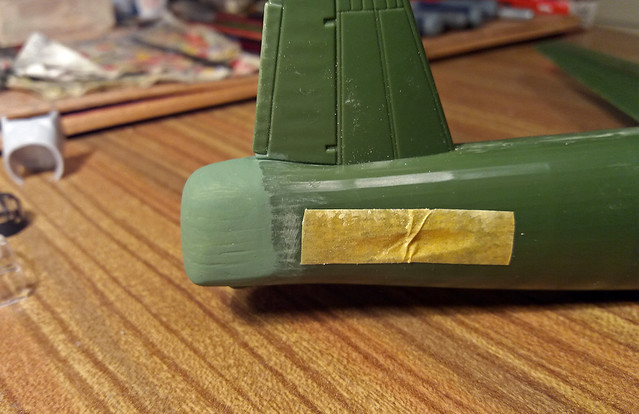
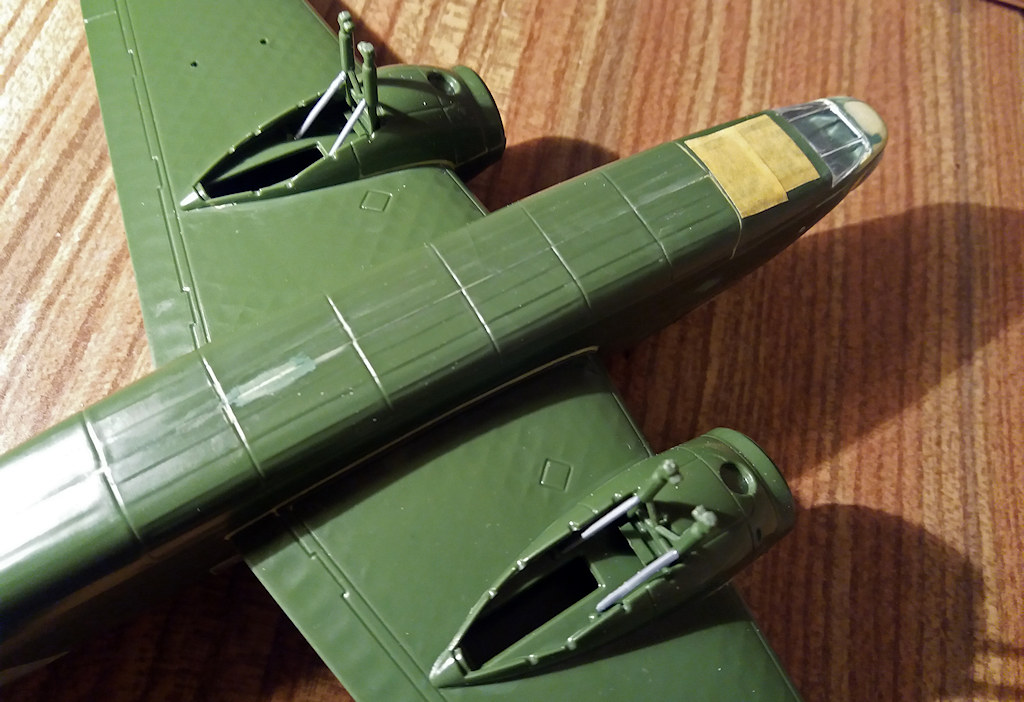
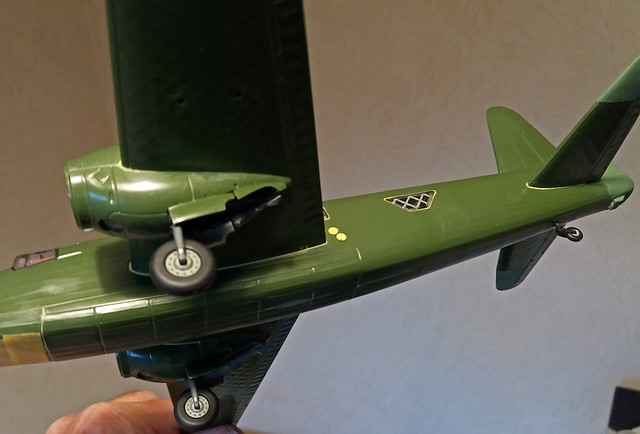
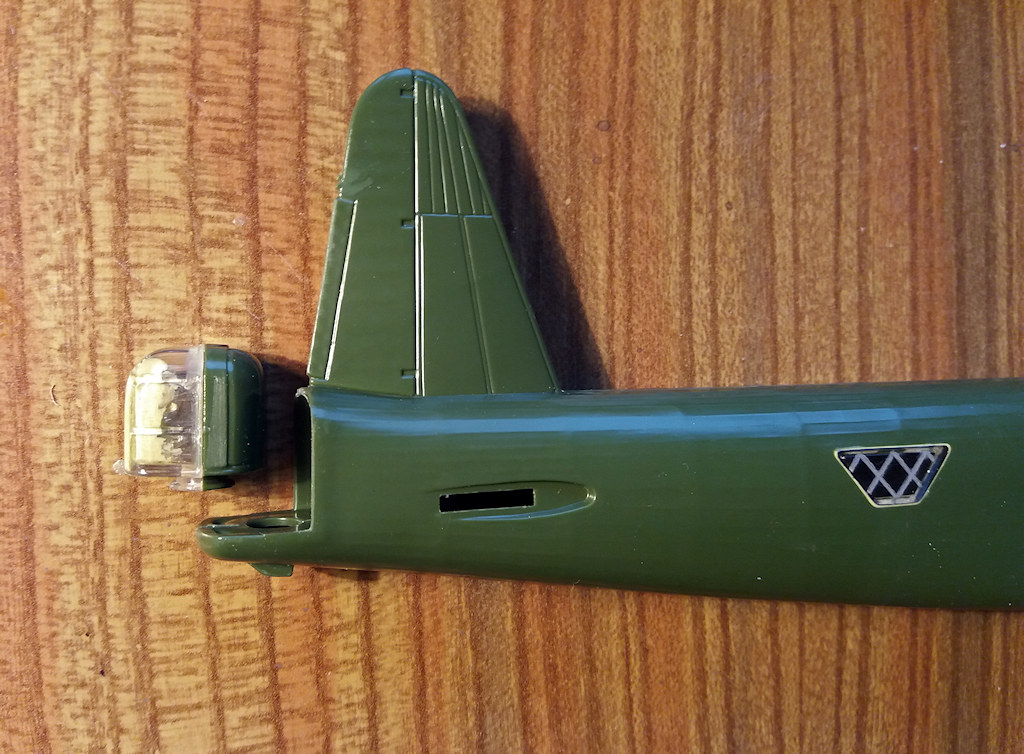
Next problem is the faired over tail turret on the T.18. This feature can be found on other marks of Wellington, and published plans often show it, but these plans seem to retain the shape of the gun turret, as if it was still there, with some fabric glued over it. In reality, photos of the real things appear to show a more rounded shape, with details of the internal framework showing through the fabric. Incidentally, in this photo the rear window shows the wrong shape for a GR.13/T.18, which should be hexagonal. This will be achieved in the final painting of the model
 Wellington T.18, Matchbox kit (8) w by Philip Pain, on Flickr
So the mounting of the rear gun turret has been cut off, and it has been filled with putty to close off the gun barrel openings. It is now being used as a 'plug' to seal the rear fuselage, and also as a basis for the putty which will cover it, sanded to the required shape and detail.
 Wellington T.18, Matchbox kit (9) w by Philip Pain, on Flickr
 Wellington T.18, Matchbox kit (10) w by Philip Pain, on Flickr
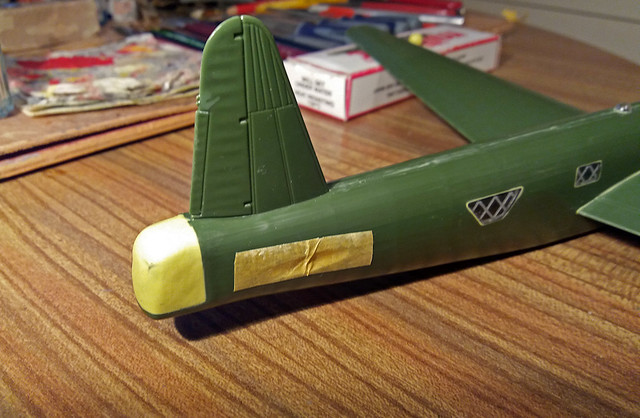
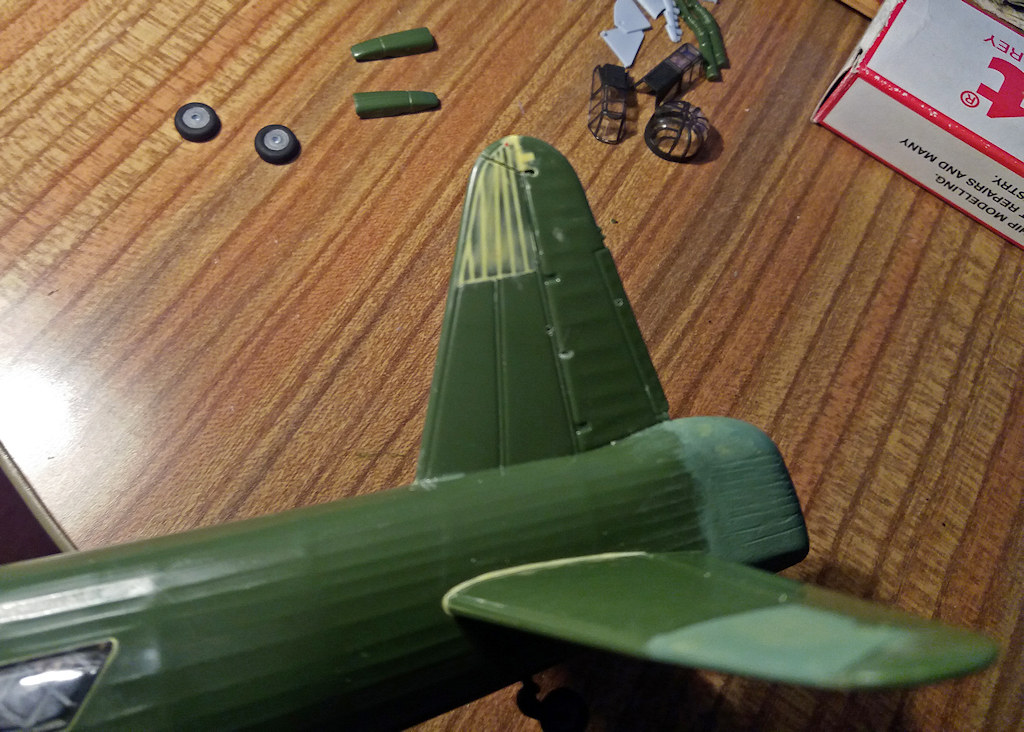
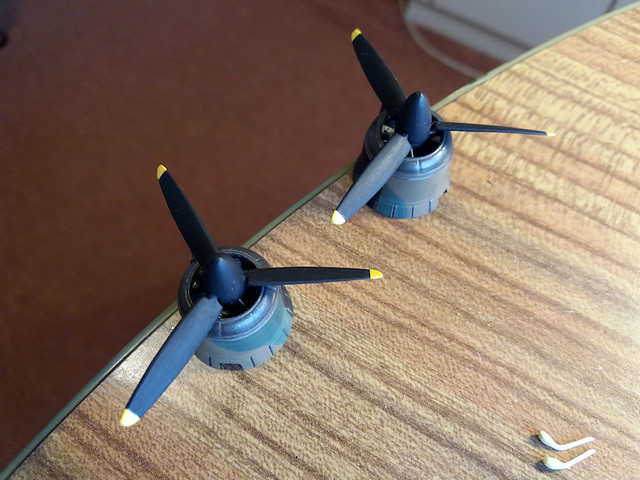
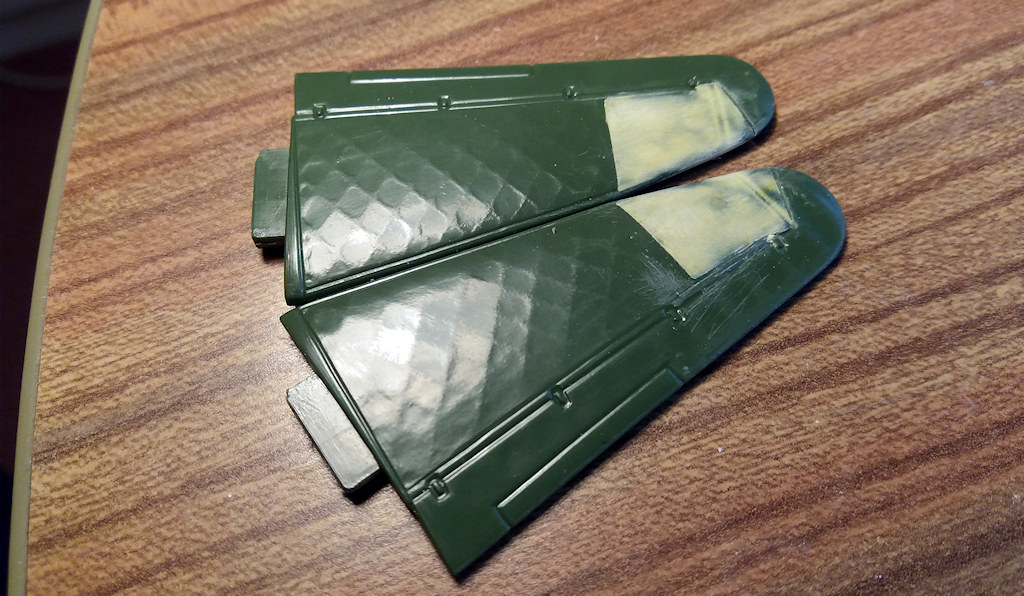
The Matchbox tailplanes are correct for the Mk.10, having a straight horn balance and curved leading edge. But later production Wellingtons (including late T.10s) had a different tail with compound leading edge and angled horn balance. The fabric covering on the outer part was replaced with a metal skin.
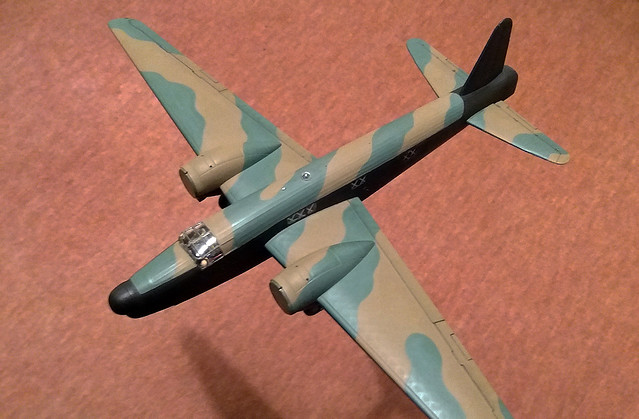
More to follow .....................
Matchbox 1/72 Wellington (PK-402) to Vickers Wellington T.XVIII (T.18)
An extensive trawl of the internet seems to show that no one has yet attempted a Vickers Wellington T.18 (I'll use arabic numerals for ease of comprehension), which was the 1945 conversion of the Wellington GR.XIII (GR.13) to produce a radar trainer for Mosquito night fighter crews. Only some 80 conversions were made on the Blackpool production line, and they continued in limited post-war service until replaced by Bristol Brigand trainers in the early 1950s. Despite much searching through my extensive library, and on the internet, I can only find photos of just five examples, mostly single side-views which do not reveal the full shape of the radar nose, nor other details. Only one photo shows any sort of unit markings, and accurate plans are non-existent. There was also a similar Wellington T.XVII (T.17), converted from the Wellington GR.XI (GR.11), but I can find no photo of that variant at all.
Wellington T.18, Matchbox kit (1) w by Philip Pain, on FlickrStarted off with the Matchbox fuselage, adding and painting the internal silver framework on the windows. The internal nose detail was left off (it can be inserted later), because the fuselage walls are quite thin, so the wings will be glued on early, and reinforced internally with spars to strengthen the model.
Wellington T.18, Matchbox kit (2) w by Philip Pain, on FlickrWellington T.18, Matchbox kit (3) w by Philip Pain, on FlickrThere are two 1/72 Mosquito radar noses available, as optional parts in the Airfix, and Matchbox Mosquito kits. In this photo the upper one is Airfix, and the lower one Matchbox. The Airfix example looks a very odd shape in profile, and tapers too much in plan view. Neither example seems to completely match the Wellington nose-job, which seems not to taper in plan view. However the Matchbox is the closer match, and can always be beefed-up with filler later on.
Wellington T.18, Matchbox kit (4) w by Philip Pain, on FlickrSo how do you turn a Mk.10/Mk.14 kit into a T.18? The photo shows the bits available - the Matchbox radar nose; the GR.14 upper nose glazing; and the B.10 lower nose section. After much research into the numerous vagaries of Wellington marks, it became apparent that the way to tackle this conversion is to first aim to produce a GR.13 (the real time basis of the T.18 conversion). The GR.13 retains the bomb aimer's window underneath, but with a lengthened nose to match the size of the GR.14-style upper glazing, as shown in the following photo;
Wellington T.18, Matchbox kit (5) w by Philip Pain, on FlickrThe upper glazing will have to be reduced in size vertically, and the lower nose extended forwards with modelling putty. The upper glazing has the correct profile for the top and longer contour of the T.18 nose. But the big uncertainty is to where to make the join between the upper glazing, and the lower nose. As best as can be deduced from photos, it appears that the lower nose probably extended up as far as the gun turret mounting ring. This would make sense as the gun turret mounting structure could be used to mount the radar. So in this photo it will be the bottom of the glazing that is removed, and the B.10 turret level retained.
Wellington T.18, Matchbox kit (6) w by Philip Pain, on FlickrClearly a lot of the Matchbox Mosquito nose structure has to be removed, leaving just the nose cone as shown by the engraved line. A corresponding hole will have to be cut in the upper glazing. It is impossible to tell if the two will fit together, and the plan is to start 'big' and whittle back until (hopefully) the two match. But if the Mosquito nose cone can not be made to fit, then 'Plan B' is to use a block of balsa wood, and whittle it to shape.
Wellington T.18, Matchbox kit (7) w by Philip Pain, on FlickrNext problem is the faired over tail turret on the T.18. This feature can be found on other marks of Wellington, and published plans often show it, but these plans seem to retain the shape of the gun turret, as if it was still there, with some fabric glued over it. In reality, photos of the real things appear to show a more rounded shape, with details of the internal framework showing through the fabric. Incidentally, in this photo the rear window shows the wrong shape for a GR.13/T.18, which should be hexagonal. This will be achieved in the final painting of the model
Wellington T.18, Matchbox kit (8) w by Philip Pain, on FlickrSo the mounting of the rear gun turret has been cut off, and it has been filled with putty to close off the gun barrel openings. It is now being used as a 'plug' to seal the rear fuselage, and also as a basis for the putty which will cover it, sanded to the required shape and detail.
Wellington T.18, Matchbox kit (9) w by Philip Pain, on FlickrWellington T.18, Matchbox kit (10) w by Philip Pain, on FlickrThe Matchbox tailplanes are correct for the Mk.10, having a straight horn balance and curved leading edge. But later production Wellingtons (including late T.10s) had a different tail with compound leading edge and angled horn balance. The fabric covering on the outer part was replaced with a metal skin.
More to follow .....................